How to Test a New Monitor
A new monitor should be tested before you mount it, remove packaging, or let the return window pass. Start with panel defects, then verify uniformity, tone, text clarity, refresh rate, and real content.
Quick answer
- Inspect the monitor physically before mounting it: panel, bezel, stand, ports, and included cables.
- Run dead pixel, stuck pixel, black screen, gray uniformity, brightness, contrast, and text clarity tests.
- Confirm the operating system is using native resolution and the highest intended refresh rate.
- Finish with real content at your normal brightness, because lab-like patterns should support daily-use decisions.
Inspect the hardware before deep setup
Before adjusting color or installing arms, check for shipping damage, panel scratches, cracked plastic, uneven bezels, weak stand parts, and loose ports. Keep packaging nearby until the display passes the first test pass.
- Check the panel surface under room light.
- Inspect DisplayPort, HDMI, USB-C, and power inputs.
- Use the cable type needed for your target refresh rate.
Hardware problems are easiest to handle before the monitor is fully installed.
Run pixel and subpixel checks first
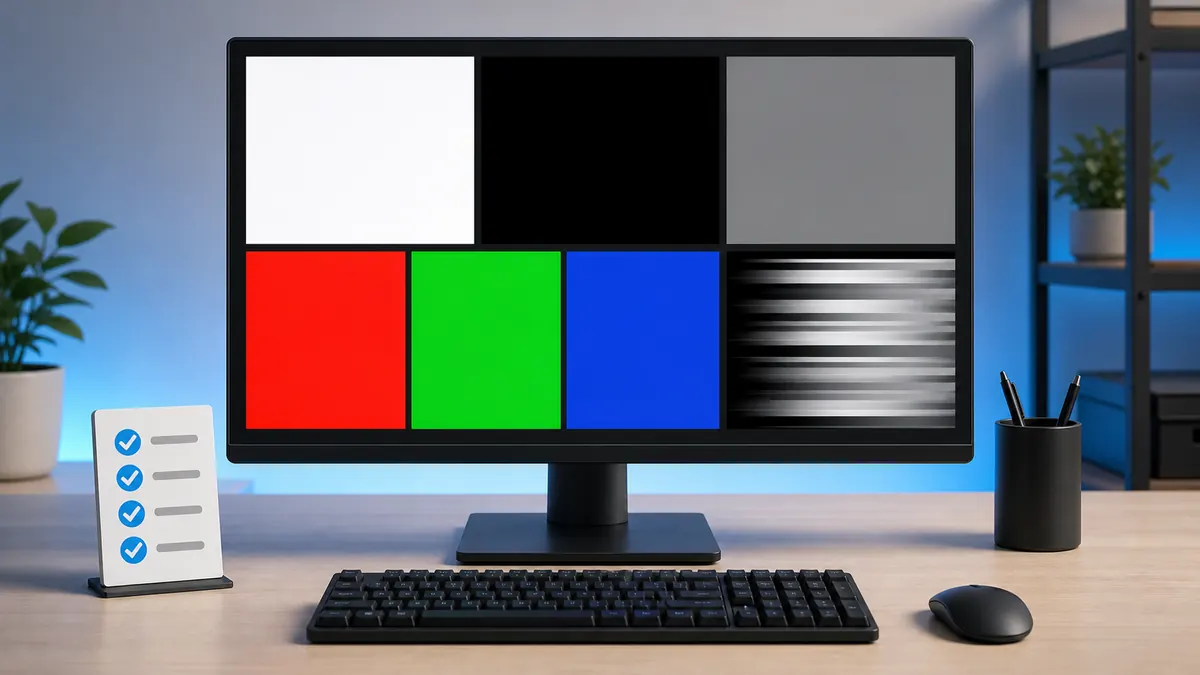
Open fullscreen white, black, red, green, and blue patterns. This catches dark dead pixels, bright pixels, and RGB subpixel problems. Test early because return policies are time-sensitive and pixel policies can be model-specific.
- Use white and black for dark or bright defects.
- Use red, green, and blue for stuck subpixels.
- Document repeatable defects with photos.
Pixel checks are the first priority because they are direct panel quality issues.
Check uniformity, bleed, and tint
Use black screens for bright edge patches, then gray screens for dirty screen effect, mild color tint, and uneven brightness. Test at the brightness you normally expect to use, not only at the most dramatic setting.
- Use a black screen in dim lighting.
- Use mid-gray for dirty screen effect.
- Move your head slightly to separate glow from fixed bleed.
Uniformity problems matter most when they remain visible in real content.
Set basic image quality before judging color
Choose a standard, sRGB, creator, or custom preset instead of vivid showroom modes. Then tune brightness, contrast, gamma, and sharpness enough to avoid crushed shadows, clipped highlights, washed-out midtones, or fuzzy text.
- Set brightness for the room.
- Avoid clipping white or black detail.
- Check text at native resolution and 100 percent browser zoom.
A bad preset can make a good monitor look worse than it is.
Verify refresh rate and motion behavior
High-refresh monitors often need an operating system setting, GPU control panel setting, and the right cable before they actually run at the advertised rate. After that, compare response time or overdrive modes for ghosting and inverse ghosting.
- Confirm refresh rate in OS display settings.
- Check the monitor OSD if it shows the active mode.
- Use response and ghosting tests before choosing overdrive.
Do not assume a 144 Hz or 240 Hz monitor is running at that rate out of the box.
Finish with the content you actually use
Patterns are diagnostic, but the keep-or-return decision should include real work. Open text documents, web pages, dark video, bright photos, spreadsheets, and your common games. Look for issues that remain distracting after basic settings are correct.
- Use your normal chair position and room lighting.
- Try at least one dark scene and one bright scene.
- Check comfort after 10 to 20 minutes, not only the first glance.
A monitor passes when both test patterns and daily content look acceptable.
Decision table
First-day monitor test order
This order catches return-window issues first, then moves into comfort and performance settings.
| Stage | Test to run | Why it matters |
|---|---|---|
| Physical inspection | Panel, stand, ports, cables | Find shipping damage, loose parts, or input problems before setup. |
| Pixel sweep | Dead pixel and stuck pixel tests | Small panel defects are easiest to document before daily use. |
| Uniformity and bleed | Gray, black, and backlight bleed tests | Find distracting patches, edge leakage, or tint. |
| Tone and clarity | Brightness, contrast, gamma, and text tests | Make sure the monitor is comfortable for work and browsing. |
| Motion | Refresh rate, response time, and ghosting tests | Confirm the performance you paid for is actually active. |
Recommended tools
Run the tests mentioned in this guide
Dead Pixel Test
Use full-screen color fills to find pixels that stay black, white, or visibly different from the surrounding panel.
Screen Uniformity Test
Uniformity patterns help you see whether brightness and color remain consistent from center to corners.
Brightness Test
The brightness test helps you set a comfortable level while keeping near-black and near-white detail visible.
Refresh Rate Test
A refresh-rate visual test helps you confirm that motion looks smoother after switching to a higher display mode.
FAQ
Common questions
What should I test first on a new monitor?
Start with dead pixels and obvious physical panel issues, then move to brightness, contrast, text, and motion.
How long should a first monitor test take?
A careful first pass usually takes 10 to 20 minutes.
Should I use factory reset before testing?
Yes if the monitor was used or previously configured. For a new unit, start from a standard or sRGB-like preset if available.
Why does my new high-refresh monitor still feel like 60 Hz?
The operating system, GPU control panel, cable, or monitor input mode may still be set to 60 Hz. Confirm the active refresh rate before judging motion.
Should I test before mounting the monitor arm?
Yes. Run a basic panel check first so you can return or exchange the monitor without extra disassembly.
Is a black screen test enough?
No. Black screens reveal bleed and bright pixels, but they do not check dead pixels on white, subpixels on RGB, text clarity, contrast, or motion.
Run the matching fullscreen tests.
Use the guide above to decide what to look for, then confirm it with a clean test pattern.